Ap.setup
Ap.setup is a web address for several range extenders. This web address helps in accessing the user interface of these extenders. The range extender is an excellent device that amplifies the network coverage of your current network. You just need to set up the extender accurately to maximize its functionality. You must log into their user interface to set up the range extender. Logging into the user interface gives you complete access to the extender’s settings. That’s why the http://ap.setup address is crucial.
Therefore, we have designed this post to help users understand the use and purpose of the http //ap.setup address. If you want to know which extenders you can set up using this address, keep reading ahead. Additionally, we’ll also discuss the procedure to set up the extender accurately, along with the issues you could face during the
How the Web URL Works?
The http://ap.setup address allows you to access the user interface of various WiFi extenders. After logging into the user interface, you can set up the range extender. Without the user interface, you cannot configure the settings of the extender. Logging into the user interface will give you complete access to the device’s settings. Through the user interface, you can check the status of the extender anytime. Thus, you need to log into the user interface of the extender. You can set up the Comfast, Rockspace, MSRM, and Wavlink extender through this web address.
How Do I Access http://ap.setup Login Screen?
To access the http //ap.setup address, you require a web browser, a compatible extender, and the default password and username. The steps to access the login page of the extender are as follows:
- Initially, place your router and extender in the same room.
- Connect your smartphone or PC to the extender’s network.
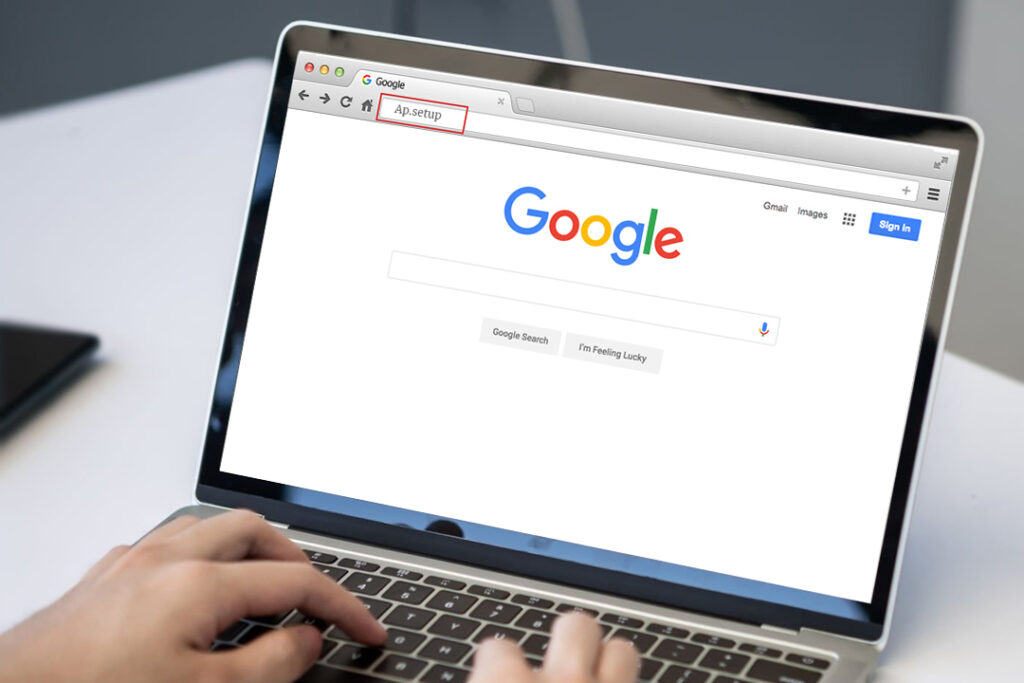
- Now, on that device, open a web browser and enter http //ap.setup in the address bar.
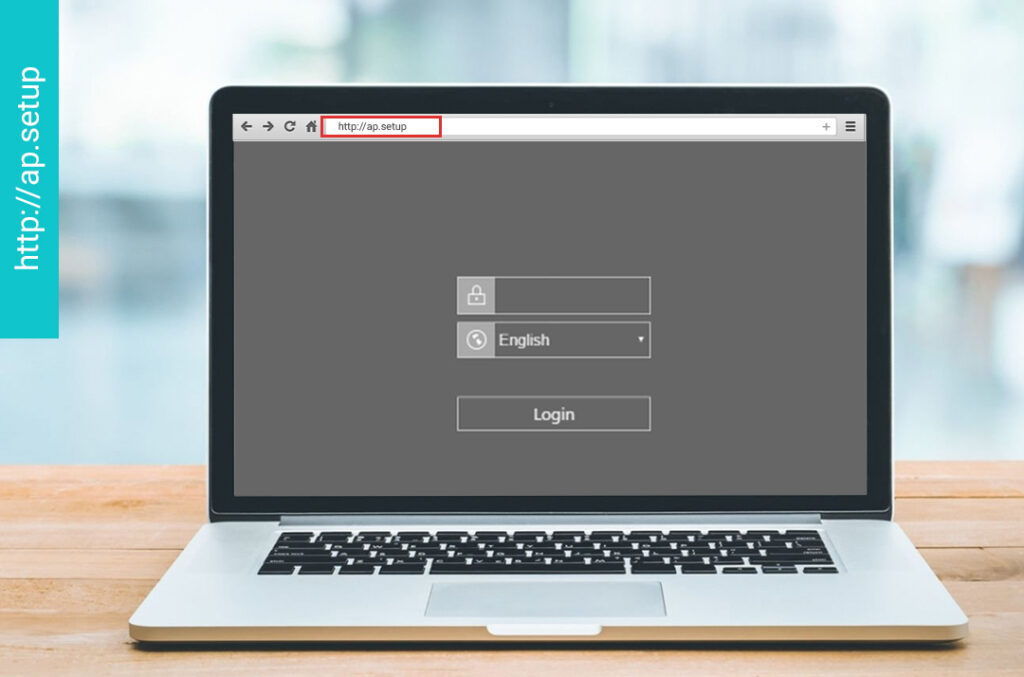
- When the login page appears, enter the default username and password in the fields.
- Hereon, press ‘Login’, and the user interface of the extender will appear.
These are the steps to access the login page of your extender.
How to Set Up Comfast WiFi Extender Using Ap.setup?
To set up the Comfast extender through the http://ap.setup address, you will require the default username and password of the extender. You can find the default login credentials on the extender’s label only. The steps for the setup are as follows:
- Firstly, place the router and the Comfast extender in the same room and plug them in.
- Now, connect your smartphone or PC to the extender’s network.
- You can use an Ethernet cable to connect the PC to the extender.
- Hereon, on that device, go to any web browser and enter http //ap.setup.
- When the login page appears, enter the default username and password.
- After that, the user interface of the extender will appear.
- Now, select the SSID of your current router and enter the correct password.
- Once a connection is made, you can configure the settings of the extender correctly.
- Finally, when you are done, you can relocate the extender.
These are the steps for the Comfast extender setup through the http://ap.setup address. Further, you can connect your devices to the extender’s network and enjoy a high-speed internet connection.
Setup a Rock Space WiFi Extender
To set up the rock space extender via the ap.setup address, ensure you have a setup router. The steps for the setup are as follows:
- Primarily, keep the router and the extender in the same room and provide a power source.
- Ensure to connect your device to the extender’s network wirelessly or via an Ethernet cable.
- Now, on that device, open a web browser and enter http //ap.setup in the address bar of the browser.
- When the login page appears, enter the default login username and password, which is ‘admin’ for both.
- Hereon, the user interface will appear, which you can use to set up the extender properly.
- At last, configure the settings and save the changes made by you. Now, you can relocate the extender.
You’re done! The Rockspace extender is accurately set up. Now, you can connect your devices to the extender’s network, which will be as same the router’s.
Wavlink Wifi Extender Setup
You can setup Wavlink extender through the http://ap.setup address as well. The procedure for this is as follows:
- First, place the extender and the router in the same room and plug them in.
- Now, ensure to connect your device to the extender’s network.
- On that device, open a web browser and enter http //ap.setup in the address bar.
- Hereon, the login page will display, and enter the default username and password.
- Once you’re logged in, you can set up the extender properly.
- Ensure to enter the correct password to form a connection successfully.
- Lastly, relocate the extender near the dead zone after the configuration
That’s all! Now, you can say goodbye to the dead zones in your house.
MSRM WiFi Extender Setup Through http://ap.setup
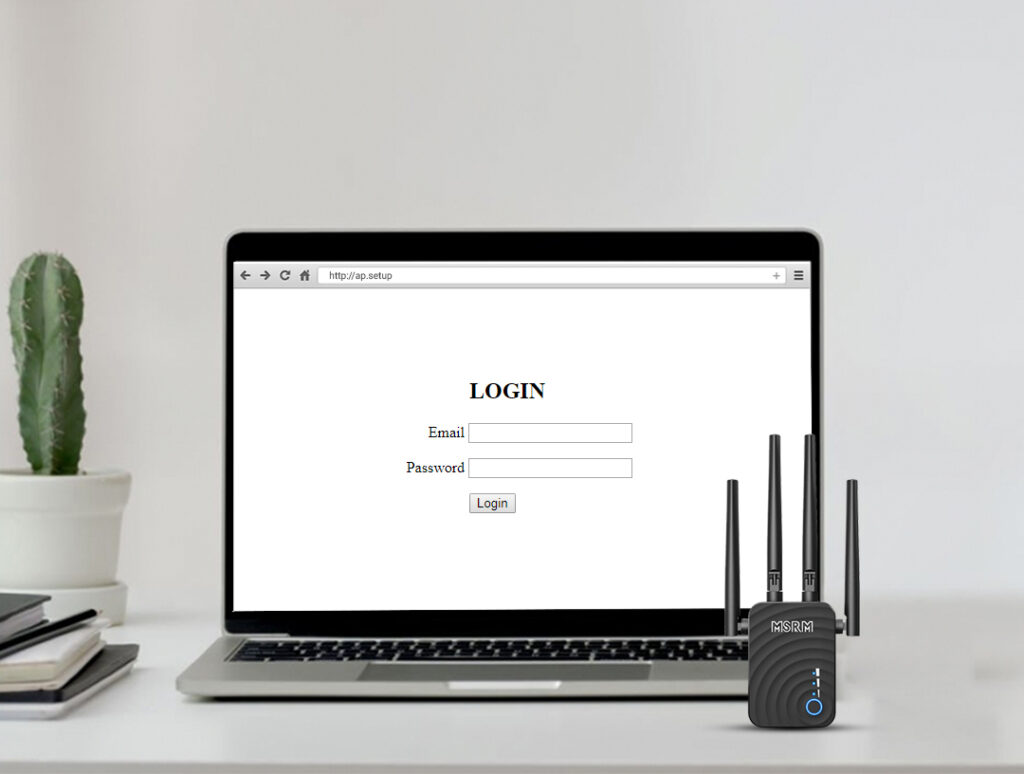
To set up MSRM WiFi extender through the http //ap.setup address, follow the below steps:
- To begin with, place the extender and the router together and plug them in.
- Connect your smartphone or PC to the extender’s network.
- Now, open a web browser and enter http://ap.setup in the address bar.
- Hereon, the user interface will directly appear on the screen.
- After that, you can connect your extender to the router’s network.
- When the connection is successful, you can configure the settings of the extender.
- Ultimately, locate the extender near the dead zone.
These are the steps for the MSRM WiFi extender setup. Now, the extender should be working flawlessly.
Why Can't I Access Ap.setup Wizard?
If you are having trouble accessing the login page via the http //ap.setup address, there could be an issue. Some common reasons for this issue are as follows:
- Your device isn’t connected to the extender
- Insufficient power supply
- Web browser issues
- Improper cable connections
These are some causes if you are unable to access the login page.
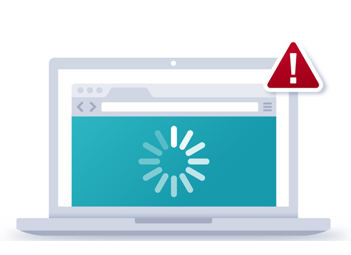
How to Troubleshoot Ap.setup Not Working?
To fix the ap.setup not working, you can try the following methods to fix the issue:

Connect your Device to the Extender
To access the login page of the extender, you must connect your PC or smartphone to the extender. Without a connection between these devices, you cannot access the login page. Therefore, you must connect your smartphone to the extender’s network. If you are logging in via PC, you can connect it via an Ethernet cable.

Inspect the Power Source
If you are unable to connect your device to the extender’s network, check the extender’s power source. The extender requires a stable power source to function effectively. Otherwise, it will not work at all. Thus, check the current socket of the extender, if it’s not working, you can plug it into another electrical outlet.

Fix the Web Browser
There could be an issue with the web browser, preventing you from logging in. Before logging in, remove the browser cache and disable any firewall or ad-blocker temporarily. If this doesn’t work, you can use another web browser. Just ensure to use an up-to-date browser only for the login.

Check the Cable Connections
If you are forming a connection using an Ethernet cable, check the connection. The PC must have a proper connection between the PC and the extender. Ensure the connection isn’t loose, if it is, you must plug the cable in properly. If the cable is defective, you must replace it.
These are some methods you can use to fix the http //ap.setup issues. Now, you can log into the extender and set it up accurately. We hope you understand the purpose of the ap.setup address. If there’s anything else, you require assistance with, you can get in touch with our team right now.
FAQs
To access the ap.setup from your Android or iPhone, follow the steps below:
- Initially, connect your phone to the extender’s network.
- Now, open a web browser and enter http://ap.setup in the address bar.
- Hereon, the login page will open, enter the default login credentials.
- At last, the user interface of the extender will appear.
To change the login password of ap.setup, follow the steps below:
- To begin with, log into the user interface of the extender.
- Now, from the home page, go to the ‘Management’ tab.
- Hereon, tap the ‘Change Password’ option.
- After that, enter the password you want to set twice.
- Finally, click ‘Save’ to save the changes you made.
These are the steps to change the login password of your extender.
If you have forgotten the login password of your extender, you cannot log in. In this situation, you must reset the extender. Resetting the extender will restore the factory default settings of the extender. After the reset, you can log in using the default password.