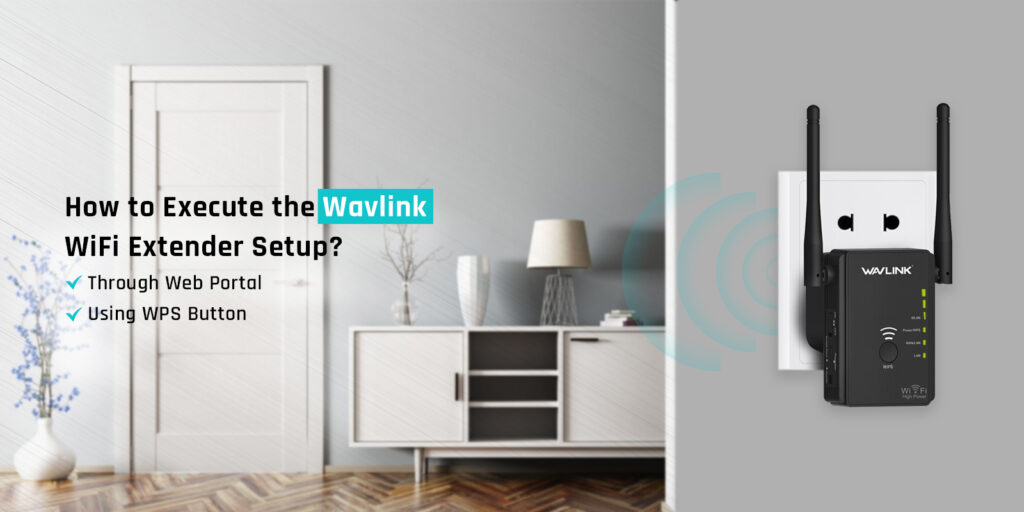
How to Execute the Wavlink WiFi Extender Setup?
The Wavlink WiFi is an impeccable WiFi extender that extends the range of your existing network. This extender has excellent network coverage with several features. You just need to proceed with the Wavlink WiFi extender setup correctly. After setting up the extender, you can get rid of all the dead zones in your house. With the help of this extender, you can enjoy a high-speed internet connection in areas you couldn’t before. That’s why, you must execute the Wavlink extender setup accurately.
To proceed with the Wavlink WiFi repeater setup, you require the correct instructions. Today, we’ll discuss the procedure for the Wavlink WiFi range extender setup. Moreover, we’ll also go over the common issues you could face during the setup. Afterward, we’ll explain the methods you can use to troubleshoot the setup problems.
Requirements for the Wavlink Extender Setup
You require the following things for the Wavlink WiFi repeater setup:
- A setup router
- A web browser
- An Ethernet cable
- The default IP address
These are some necessary items you must have for the Wavlink WiFi extender setup.
Wavlink WiFi Repeater Setup
There are two methods for the Wavlink WiFi range extender setup. You can set it up through the user interface or the WPS button. For the former method, you require the default IP address to access the setup page of the extender. Whereas, for the other method, you just need to ensure your router also has a WPS button. The procedure for both these methods is as follows:
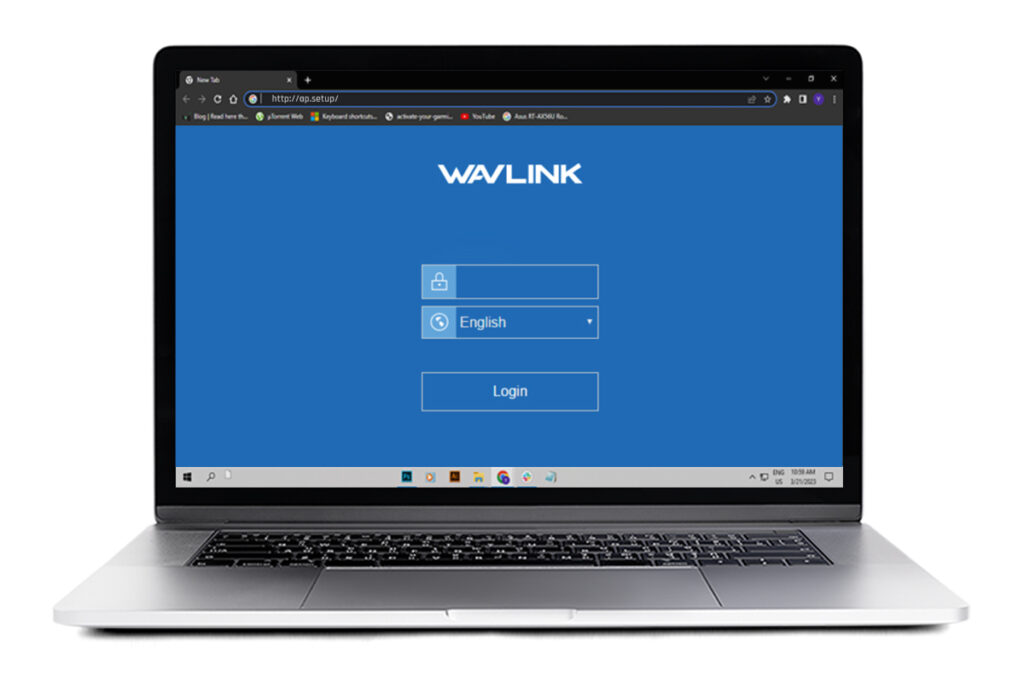
Wavlink WiFi Extender Setup Through Web Portal
- To begin with, place your extender and the router in the same room.
- Ensure to plug the router and extender into a working power source.
- Connect your device to the extender’s network to log into the user interface.
- You can use an Ethernet cable to connect the PC to the extender.
- Now, open a web browser of your choice and enter the IP address in the address bar.
- You can use the ap.setup address as well to access the user interface.
- Hereon, the home page of the user interface will appear.
- Select the SSID of your current WiFi network and enter the correct password.
- Give the extender some time to form a connection with the router.
- After that, you need to set a name and password for your extender’s network.
- Ensure to set a strong and complex password to keep away any hackers.
- When the setup is complete you can relocate the extender near the dead zones.
- At last, when you’re done with the configuration, click SAVE to save the changes.
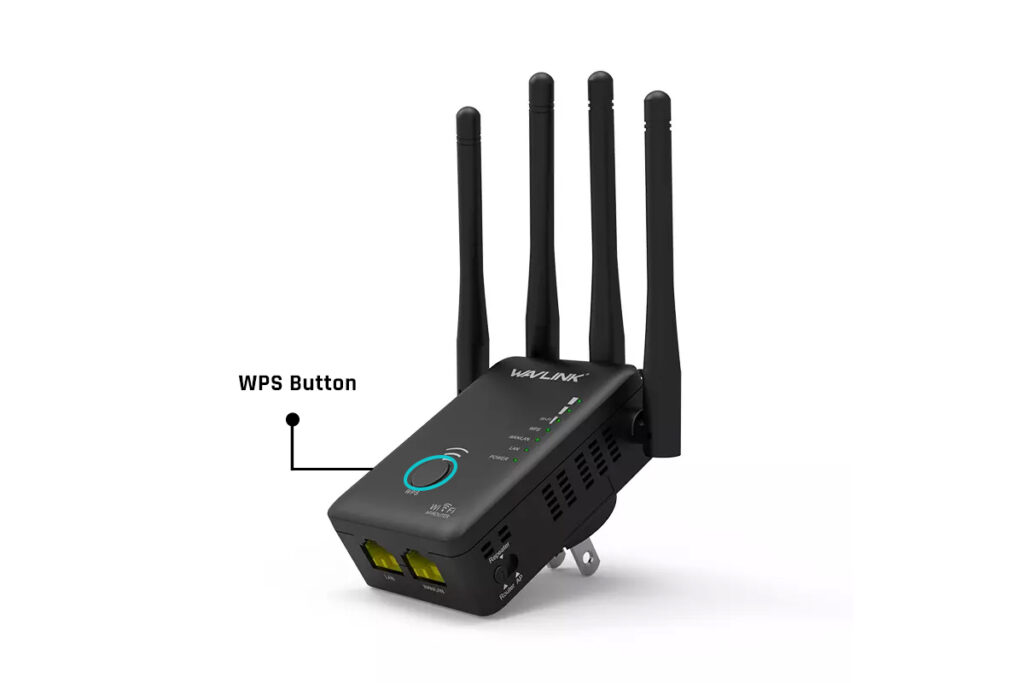
Wavlink Extender Setup Via WPS Method
- Initially, keep the extender and the router in the same room.
- Ensure both devices are plugged into an electrical outlet.
- Now, press the WPS button on the router for 4-5 seconds.
- After that, within 2 minutes, press the WPS button on the extender.
- Wait for a few minutes and let the devices form a connection.
- Finally, when the connection is successful, the WPS LED will light up.
- Now you can move the extender to the desired location.
- By default the SSID and the password of the extender will match the router’s.
These are some methods for the Wavlink WiFi repeater setup. Now, you can connect your devices to the extender’s network and start using a high-speed internet connection.
Why Can't I Set Up the Wavlink Extender?
If you are unable to proceed with the Wavlink WiFi range extender setup, means there’s some issue. Some common reasons for this problem are as follows:
- The device isn’t connected to the extender’s network
- Insufficient power supply
- Incorrect IP address
- Browser issues
- The router is too far from the extender
- Internal issues
These are some common reasons for the Wavlink WiFi extender setup issues. Further, we’ll discuss the methods you can use to troubleshoot them.
Troubleshooting the Wavlink Extender Setup Issues
To troubleshoot the Wavlink WiFi range extender setup issues, you can use the following methods:
Connect your Device to the Extender’s Network
- To access the extender’s user interface, you must connect your smartphone or PC to the extender’s network.
- Without a stable connection between both, you cannot access the Wavlink extender’s user interface.
- Therefore, it’s important to connect your device to the extender’s network.
- You can form a connection between your PC and the extender using an Ethernet cable, which is much more stable.
- After this, you can try again with the Wavlink WiFi extender setup.
Inspect the Power Supply Connections
- For the Wavlink WiFi repeater setup, you must plug the extender and the router into a working power source.
- Without a stable power supply, you cannot set up the Wavlink WiFi range extender, that’s why it’s essential to plug them both in.
- Check the power socket of both devices and ensure they are working, otherwise, you must plug them into another power source.
- After providing a stable power source, you can try again with the Wavlink extender setup.
Fix the Browser Issues
- There could be an issue with the web browser preventing you from accessing the setup page.
- Before you proceed with the Wavlink extender, you must clear out the browser cache.
- Also, temporarily disable any firewall and ad-blocker, as they could prevent you from accessing the login page.
- If this doesn’t work, you can try using another web browser. Just ensure the web browser is up-to-date.
Power Cycle the Router
- If the issue is with the outer, you can try power cycling to fix it.
- To power cycle it, you just need to power OFF and unplug it.
- After 1 minute, you can power it back ON.
- Now, the issue should be gone and you can retry with the Wavlink WiFi range extender setup.
Enter the Correct IP Address
- If you are unable to access the setup page of the extender, means you are using the incorrect IP address.
- You must use the correct IP address to access the setup page successfully.
- To find out the correct IP address, go to ‘Start’ and enter ‘cmd’ in the search box.
- When the command prompt appears, type ‘ipconfig’ and press enter.
- Now, you can find the correct IP address next to the Default Gateway, which you can use to access the setup page.
- Hereon, you should be able to proceed with the Wavlink WiFi range extender setup successfully.
These are some methods you can use to fix the Wavlink WiFi extender setup issues. Now, you should be able to set up the extender accurately. You can reach out to our team if you require assistance with anything else.
FAQs
How do I connect my wifi extender to my WiFi?
You can connect the extender to the WiFi either through the user interface or the WPS button. Additionally, you can also connect the extender to your router using an Ethernet cable. After that, you can connect your devices to it and start using it.
Can I Access Wavlink Setup Wizard Without Login?
No, you cannot access the setup wizard without logging into your user interface. You can use the default IP address to access the user interface of the extender. After that, you can reconfigure the extender accurately.
Why is the Web URL http://ap.setup Not Working?
If the ap.setup URL isn’t working means you didn’t connect your device to the extender’s network. Without a connection, the user interface will not work. There could be an issue with the web browser as well. Try using another updated web browser for the setup.