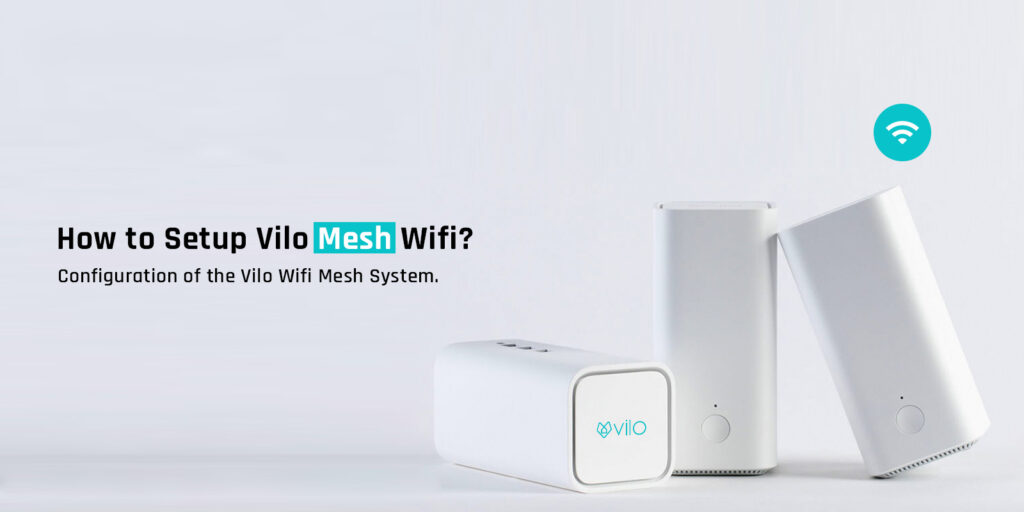
How to Setup Vilo Mesh Wifi?
Vilo mesh WiFi setup is easy and each Vilo device comes with a quick start guide to help users with the Vilo mesh setup through the App and configuration. However, most users do not refer to the setup guide and either search on the internet or call a professional technician. Let us tell you, setting up a Vilo mesh Wi-Fi system is simple and can be done by even a first-time user.
The Vilo mesh WiFi system is a very reliable yet robust WiFi system on the market. You can enjoy hassle-free connectivity across your premises with the help of mesh WiFi technology. The mesh WiFi technology offers you an undisturbed yet seamless WiFi experience.
Today, we will discuss how you can go about the Vilo mesh WiFi setup without having to call a technician or a wireless expert.
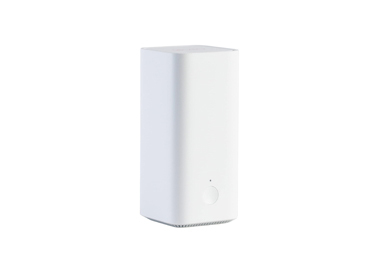
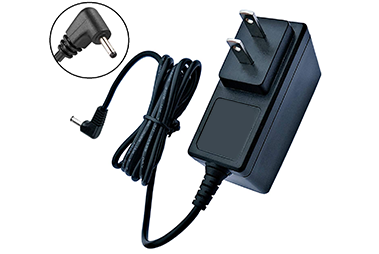
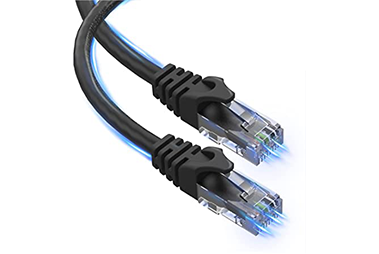
Things You Need for Set Up
We have discussed some of the things below to help you meet certain requirements in order to go about the Vilo mesh setup. Please refer to the points given below:

Vilo Mesh WiFi Setup Through the App
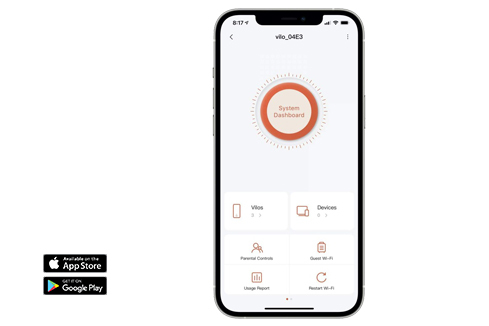
To start with the Vilo mesh setup, you can follow the steps below:
- First of all, download the Vilo app from the Play Store or App Store.
- After that, open the app and create an account.
- You need to create an account in order to login to the device and start with the Vilo mesh WiFi setup.
- Tap ‘Add Vilo’ and follow the on-screen prompts to add your main node.
- You will reach the ‘Connect to Wi-Fi page.
- Tap the ‘Scan QR code’ button to scan the QR code on the bottom of your Vilo mesh Wi-Fi node.
- This will take you to the WiFi setup page.
- Create an SSID and Password for your WiFi network.
- Finally, tap ‘Activate WiFi Network’ to link the Vilo node to the Vilo account.
- At last, you will see the ‘Activation Successful’ message.
The Vilo mesh setup will complete successfully and you can connect to the network.
Can't Setup Vilo Wifi Mesh System? Troubleshoot
If you find it difficult to set up your Vilo mesh Wi-Fi system or come across some issues with your device, don’t worry. You can easily get rid of the issues by using the below-mentioned troubleshooting steps.
- Make sure the Vilo mesh router is connected to the modem.
- You should connect the router to the modem using an Ethernet cable.
- After that, ensure that the modem is powered On.
- You must download the Vilo app only from the Play Store or App Store.
- If the app is outdated, download the latest version.
- Thereafter, follow the steps very carefully in order to avoid any issues.
- Make sure you go about the firmware update once you complete the Vilo mesh WiFi setup.
- This will update your device to the latest version and ensure that it is stable and compatible.
FAQs
Can I Setup Vilo using My Windows/Mac?
No, you can’t set up your Vilo mesh Wi-Fi system using Windows or Mac. The Vilo mesh setup can only be performed through the Vilo mobile app.
Do I Need to Login to Vilo Account to Set it Up?
Yes, you first need to create an account on Vilo app. Once you create an account, you need to login to the device. After that, you can set up your Vilo mesh WiFi without any hassle.
Does the Vilo Mesh Wifi System Work as a Wifi Extender?
Practically, the Vilo mesh WiFi system includes multiple nodes apart from the main node. The secondary or additional nodes act as an extender.
Final Thoughts
This page was all about the Vilo mesh WiFi setup and installation. We hope this post was helpful to you and that it helped you go through the initial setup of your Vilo mesh Wi-Fi system. Setting up the mesh WiFi router is always easy with the help of the mobile app.
If you come across any doubts or queries, make sure you feel free to reach out to our support team for more help.
